
- > Path of Exile 2 Return of the Ancients Tangmazu Boss Guide
- > Path of Exile 2 Return of the Ancients Keepers of the Flame Quest Guide
- > Path of Exile 2 Kalguuran Skill Gems List: Where to Find and How to Activate the Newest Kalguuran Remnant Abilities
- > Path of Exile 2 0.5.0 Arbiter of Divinity Pinnacle Boss Guide
- > Path of Exile 2 Return of the Ancients Martial Artist Build
- > Path of Exile 2 Return of the Ancients 0.5.0 Huntress Spirit Walker Build Guide
Path of Exile 2: Mastering Map Rolling
As someone who has spent years mastering the intricacies of the game, I can tell you that the crafting system in Path of Exile 2 has undergone some major changes from the original game. The crafting system is now completely driven by different currencies that modify your items in unique ways. One of the most significant changes is that the reforge currency, which allowed you to remove unwanted mods in the original game, no longer exists. This means that once an item has been modified, you cannot simply return it to its original white base. Instead, the value of unmodified White items increases dramatically as they remain blank slates, ready to be built upon with your crafting currencies.
In this guide, we will break down the new crafting system and explain the role of each currency. I will cover everything from the basic currencies that are used to identify and transmute items, to the more advanced currencies that allow you to add or remove mods. By the end, you'll have a solid understanding of how to optimise your equipment using this additive system, and you'll be ready to build your ideal gear with confidence.
Hello fellow exiles. I would like to share what I have learnt with you, but please note that I am not an expert, not level 100, and certainly not in the top 0.001% of PoE players. There are undoubtedly more advanced strategies for higher level builds and a wider range of attachments. However, the approach described here is intended to be accessible to those looking for a straightforward method of improving their map runs.
Disclaimer: I do not claim to be an authority on the subject. There are more sophisticated methods that may give better results, but this guide reflects a practical strategy that has worked for me.
Part One: Rolling Maps Effectively
The first step in optimising your map runs is to focus on map suffixes. Maps usually come with several free suffixes - such as "Monsters are Armoured", "Monsters have +50% Resistance", "Monsters are Evasive", as well as affixes related to stun and affliction thresholds. The primary goal is to create maps with manageable (or "easy") suffixes, while maintaining useful (or "juicy") prefixes.
Starting with the right waystone
Card Tier & Rarity:
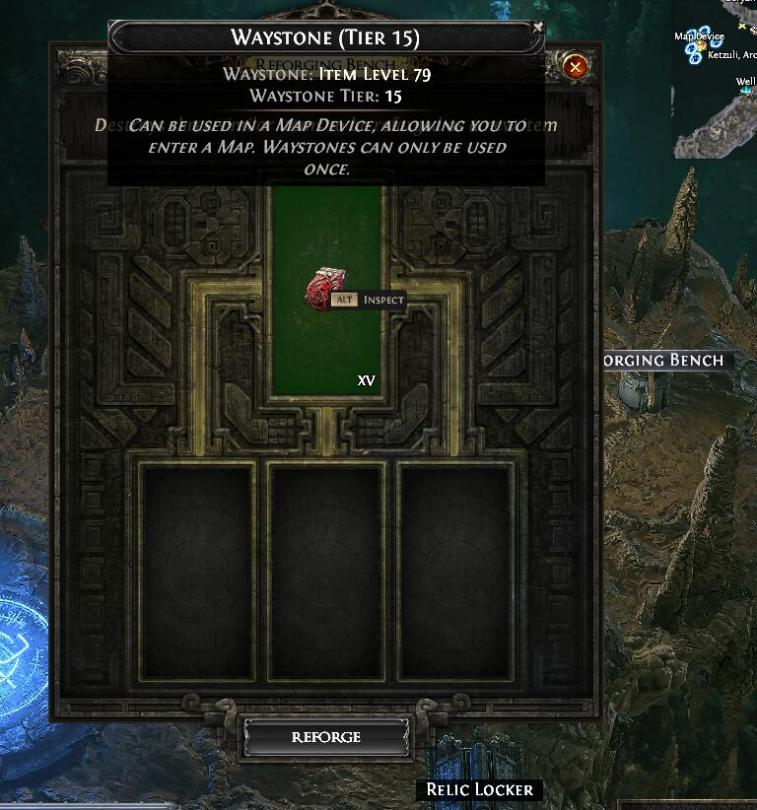
Start with a collection of Tier 15. (Some players may choose to use T14 or even T13 maps if they are willing to sacrifice a bit of experience and item level loot; a larger amount of maps can make this strategy easier to maintain). Ideally, you want your waystone to be either white (unmodified) or rare. Keep in mind that when you combine Waystone, the resulting card will inherit the lowest rarity of the two. For example, combining a white card with two blue (magic) T14 will result in a white T15 card, which is preferable for this strategy.
Edit your waystone:
-
White T15s: Use an Orb of Alchemy to upgrade them.
-
Blue (Magic) T15s: Use an Orb of Augmentation if necessary, then upgrade with a Regal Orb.
-
Yellow (Identified) T15s: Identify these waystones and make sure they are properly processed.
After these steps, you will have a collection of rare waystones, each with either three mods, four mods, or a variable number (up to six) from the identification process.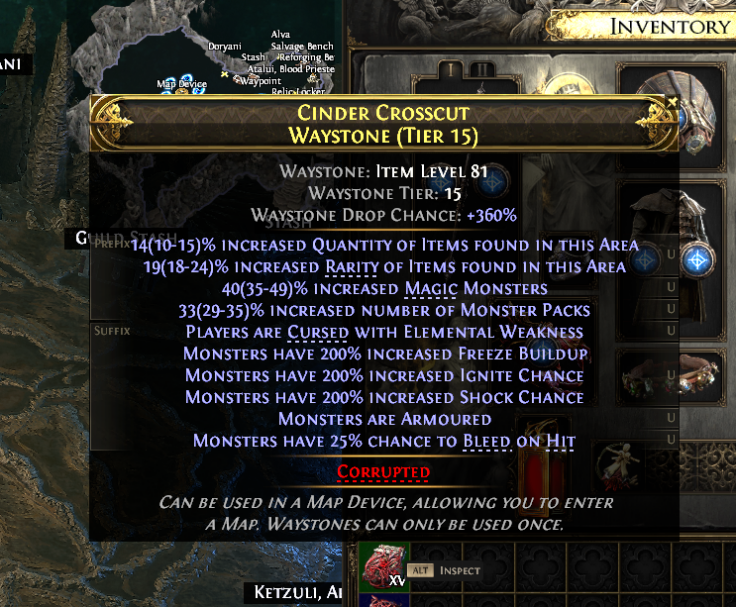
Sorting your waystone into six piles
The next critical step is to sort your waystone by quality. I have categorised them into six piles, arranged from "worst" to "best". The guiding principle is that if a card could belong in more than one category, it should be placed in the lower quality pile. In addition, if you decide to exalt a map (which involves adding a prefix using exaltation currency), its mod configuration may change, so it will need to be resorted after exaltation. Below is a description of each stack:
Stack 1: The discard stack
Criteria:
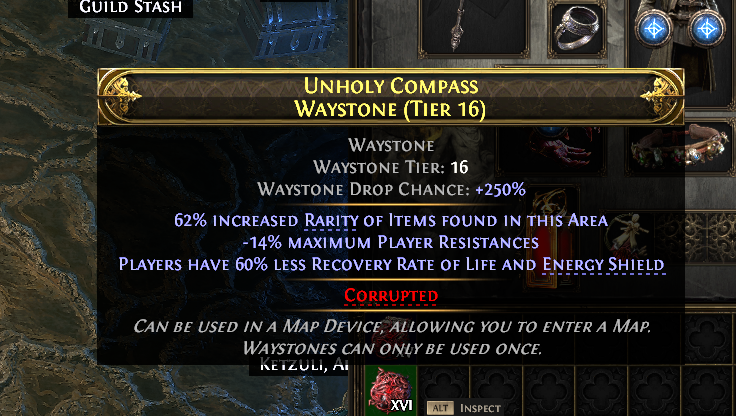
Maps that contain an extremely harmful suffix - such as -60% regeneration, -15% maximum resistances, "Monsters deal 40% more damage" combined with an additional monster damage modifier, burning ground effects, etc.
Advice:
Do not use these waystone. They are inappropriate for most runs. It may be best to set them aside for sale, or consider applying a Vaal Orb in the hopes of changing the mod configuration, but they should not be run unless absolutely necessary.
Additional note:
Maps with an "increased gold" prefix should also be placed in this pile, as there is evidence to suggest that such prefixes can adversely affect currency drop rates.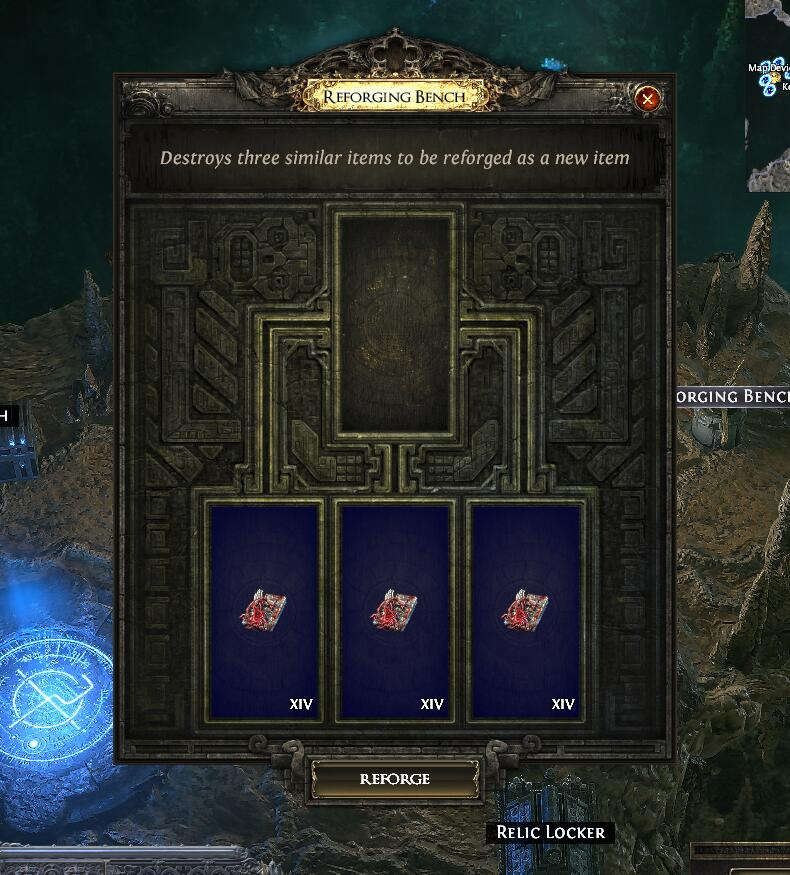
Stack 2: The Caution Stack
Criteria:
Maps that have intimidating suffixes, but can still be completed with careful play. For example, a map might say "Monsters deal 40% more damage than X" with a suffix like "Shocked Ground".
Recommendation:
If these maps already have three suffixes, you may want to consider buffing them, However, if any suffix slots remain open, it is advisable not to exalt them, to avoid the risk of adding another unfavourable mod.
Stack 3: The Stable Stack
Criteria:
waystone that already have three prefixes, contain no mods that affect item rarity or quantity, and have no suffixes that require special attention.
Recommendation:
Do not upgrade these waystone. The risk of making a good card worse by adding an unwanted mod is high.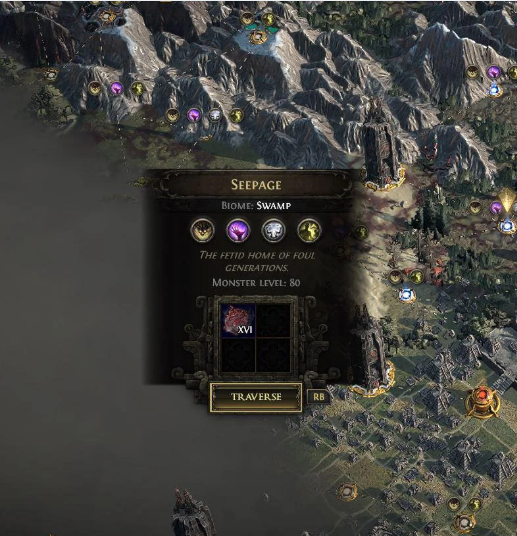
Stack 4: The improvement stack
Criteria:
Maps with three benign suffixes and available prefix slots.
Recommendation:
Elevate these maps until they either move up to a higher quality category (Pile 2 or 3) or otherwise improve. These waystone have potential for significant improvement.
Stack 5: The Balanced Stack
Criteria:
Maps that have no more than one detrimental suffix and contain beneficial mods that affect item rarity or quantity.
Recommendation:
If these waystone already have three suffixes, you can try to buff them to maximise prefixes. However, if there are open suffix slots, it is best to refrain from exalting due to the risk of adding an unwanted mod.
Stack 6: The Premium Stack
Criteria:
Maps with no harmful suffixes and mods that increase item rarity or quantity.
Recommendation:
For maps that already have suffixes, exalt them to further maximise their beneficial prefixes. If you have any open suffix slots, proceed with caution, as these maps are your most valuable for high quality runs.
Part Two: Choosing the right map for the right node
Once you have sorted your maps into the six piles, the next step is to decide which map to use based on the node you want to run. Different nodes offer different rewards, and choosing the right map can have a significant impact on your overall efficiency. Here are a few examples:
Example 1: A travel node
Scenario:
A travel node primarily used to access a new area, where the map is influenced by two precursor towers (resulting in a 22% item quantity bonus), but without any additional rewards such as breaches.
Map selection:
A map from Stack 2 is generally suitable for this type of node. In certain cases, if you have just leveled up, you could even risk a Pile 1 map, but it is usually best to save them for more critical situations. The primary loss on a failed run is the 22% bonus.
Example 2: A moderately upgraded node
Scenario:
A node that has a decent layout with additional challenges such as towers, a breach and even a map boss. One example has five towers, a breach and heavy irradiation.
Map Choice:
These nodes are best approached with a map from Stack 3 or Stack 5, avoiding overly aggressive maps from Stack 1. If you choose a map from Stack 2, especially one with a high rarity, be prepared for a challenging run.
Example 3: A strong but imperfect knot
Scenario:
A hub that is quite strong - with impressive modifiers, a favourable layout, and possibly a +2 map level - but not perfect.
Map Choice:
A map from Stack 6 or the highest quality map available in Stack 5 is ideal for this scenario, allowing you to take advantage of beneficial mods without taking unnecessary risks.
Example 4: A premium hub
Scenario:
A particularly rewarding node - irradiated, corrupted, with a map boss, your preferred mechanics, a superior layout and multiple towers.
Map Choice:
In this case, it is advisable to invest in a level 16 map. Look for one with at least 80% item rarity and mods that fit your build, and consider paying the 20 exaltation cost to optimise it for a high-reward run.
Key Takeaways & Final Thoughts
Sort and prioritise:
Start by carefully sorting your waystone. Always place a map in the lower quality pile if it qualifies for more than one category. The quality of your waystone will directly affect your ability to complete nodes and maximise loot and currency rewards.
Exalting requires caution:
Exalting is a useful tool for adding prefixes and improving the overall quality of a map. However, if a map has open suffix slots, the risk of adding an unwanted mod is significant. Only exalt maps if you are sure that the overall quality will improve.
Match maps to nodes:
Different hubs have different requirements. Use lower quality maps for travel nodes and reserve your premium maps for nodes that offer high rewards, such as those with breaches or additional modifiers.
Flexibility and re-evaluation:
As you upgrade your maps, re-sort them on an ongoing basis. The mod configuration can change, so it is important to regularly evaluate and adjust your strategy.
Risk management:
This strategy focuses on minimising risk. Maps in Stack 1 should not be run under normal circumstances. For the other stacks, balance the potential benefits (such as increased item rarity and quantity) against the risk of harmful mods.
Community Collaboration:
Many experienced players have helped refine this strategy. Consult the community guides and discussions for additional tips, tricks and new ways to maximise map runs.
Enjoy the process:
Although the strategy is designed to improve map efficiency, the ultimate goal is to improve your overall experience. Each map run is an opportunity to learn and refine your approach, so maintain a mindset of continuous improvement.
Final words
Optimising map runs in Path of Exile 2 involves both strategy and careful risk management. By starting with a well-prepared collection of level 15 maps, editing them accordingly, and then meticulously sorting them into quality stacks, you can improve your chances of success at each node. Matching the quality of your maps to the requirements of the node - whether it's a simple travel node or a premium, high-reward area - will make a significant difference to your performance.
Remember, this guide is based on my personal experience and research. While there are more advanced strategies available, I hope this approach provides a solid foundation for those who wish to improve their map runs without overly complex methods.
May your maps always be of high quality, and may your runs be both efficient and rewarding. Good luck and happy mapping!
Recommended Article


 Email
Email Discord