
- > PoE 2 1.0 Full Release: Everything You Need to Know About the Launch
- > PoE 2 Thaumaturgic Generator Guide: How to Get It, Best Recipe, and Is It Worth Using?
- > PoE 2 Runes of Aldur League: How to Fast Track All 8 Challenges
- > PoE 2 Hostile Takeover Quest Guide
- > How Is Hollow Palm Doing in Path of Exile 2?
- > Path of Exile 2 Atziri Boss Guide – How to Reach and Defeat the Queen of Corruption
Path of Exile 2 Lachlann of Endless Lament Boss Guide
If you’ve been gearing up for Path of Exile 2, you’ve probably heard whispers of the terrifying Lachlann of Endless Lament. As one of the more challenging bosses in the game, Lachlann can put even the most experienced players to the test. Whether you're diving into this boss fight as a part of the campaign or going for a challenge in the endgame, knowing how to handle Lachlann’s devastating abilities is crucial.
In this PoE 2 Lachlann of Endless Lament Boss Guide, we’ll break down everything you need to know to take down this fearsome foe. From understanding his attacks to gearing up for the fight, we’ve got you covered. So, grab your flask and sharpen your weapons, because this is one fight you don’t want to go into unprepared.
Who is Lachlann of Endless Lament?
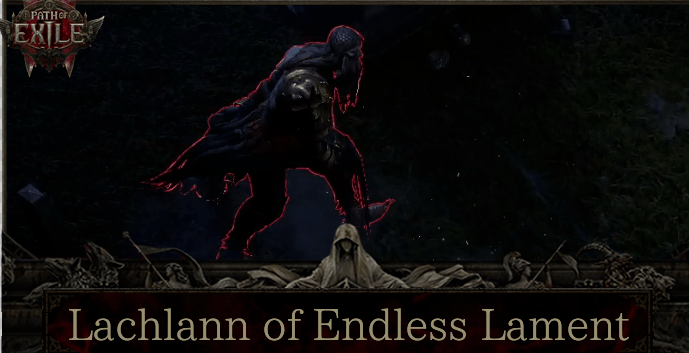
Before we jump into the mechanics of the fight, let’s take a quick look at who Lachlann is and why he’s one of the most memorable bosses in PoE 2.
Lachlann of Endless Lament is a harrowing force in Path of Exile 2, whose dark powers stem from an unending cycle of regret and sorrow. He isn’t just a traditional boss with simple attacks; he’s a master of manipulating emotions and memories, bending reality around him. His essence draws from the world’s grief, making him a highly unpredictable and deadly opponent.
This fight is not just about pure mechanics—it’s a test of patience, strategy, and resilience. To defeat Lachlann, you'll need to understand the unique traits of his attacks and how to avoid his most devastating moves.
Key Mechanics of Lachlann's Fight
Lachlann is a multi-phase boss with several deadly attacks. To make things easier, we’ll break them down into their core mechanics and the best strategies to avoid them.
Phase 1: The Sorrowful Winds
In the first phase of the fight, Lachlann will focus on ranged, wind-based attacks that deal damage over time. These wind blasts come in waves, and you’ll want to keep moving to avoid getting hit. He will occasionally summon wind vortexes that swirl around the arena, damaging anything caught within them.
Key Tip: Stay mobile in this phase. The damage from the wind is manageable if you keep moving and avoid the vortexes. Watch the ground closely for wind trails indicating where the vortexes will spawn, and move to safer areas.
Phase 2: Memories of Agony
After reducing Lachlann’s health to around 50%, he will transition into Phase 2, where the fight takes a darker turn. In this phase, Lachlann gains the ability to attack with illusions of past failures—memories of the people he has lost. These memories will take shape as shadowy clones of himself, each with different attacks that mirror Lachlann’s abilities.
These clones will deal substantial damage, but they are not as powerful as Lachlann himself. The key here is to focus on Lachlann and not get distracted by the clones. They’re dangerous, but if you can avoid their attacks and keep your focus on the real Lachlann, you’ll be able to phase him faster.
Key Tip: In this phase, Lachlann will also use a powerful attack called "Lament of the Lost." This move creates a field of sorrow where your movement speed is greatly reduced. Stay close to Lachlann, but keep an eye on the shadows around you—these are often signs that he’s about to cast Lament of the Lost.
Phase 3: Grief Unbound
Once Lachlann’s health reaches the final threshold (around 20-30%), he enters his final, most dangerous phase—Grief Unbound. This is where things get tricky. Lachlann will now become even more aggressive, summoning a combination of wind vortexes and shadow clones that are now more powerful than ever. These clones will be much more difficult to kill and can overwhelm you if you’re not careful.
Additionally, Lachlann will now channel an ability called "Eternal Lament." This ability creates a massive AoE (Area of Effect) damage zone that expands over time. If you’re caught inside it, you’ll be dealt substantial damage, and the fight will become exponentially harder.
Key Tip: During this phase, your movement is more crucial than ever. Keep dodging the clones and wind vortexes while maintaining a safe distance from Lachlann. When you see him channeling Eternal Lament, immediately move out of the AoE zone and make sure to keep your flask up to counteract the damage.
Lachlann’s Enrage Mechanic
As if the fight weren’t already intense enough, Lachlann has an enrage mechanic. If you don’t deal enough damage within a set period, Lachlann will enrage, causing him to deal significantly more damage and move faster. The enrage timer is fairly forgiving, but it’s important to note that failing to keep the pressure on him can result in a much more difficult fight.
Key Tip: To avoid triggering the enrage mechanic, make sure you’re consistently attacking Lachlann throughout all phases. This isn’t a fight where you can afford to be passive or wait for the perfect moment.
How To Defeat Lachlann of Endless Lament
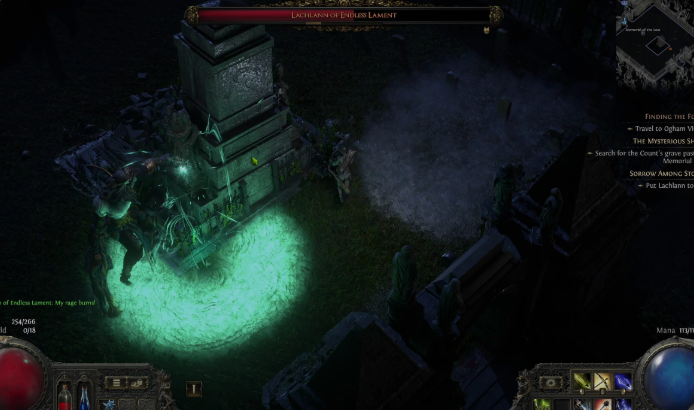
Now that we’ve covered Lachlann’s abilities, let’s talk strategy. Here’s a step-by-step breakdown of how to approach this boss fight:
Phase 1: Wind Control
- Avoid Wind Vortexes: Watch for the wind trails on the ground and avoid standing in vortexes.
- Keep Moving: Lachlann’s wind-based attacks are powerful, but if you stay mobile, you can easily avoid them.
- Focus on Damage: Don’t be afraid to go all-in with your damage dealers here. Phase 1 isn’t too difficult if you keep an eye on the wind and focus on Lachlann’s main body.
Phase 2: Clones and Illusions
- Focus on Lachlann: The clones are dangerous, but they’re not as strong as the real Lachlann. Don’t get distracted by them.
- Watch for Lament of the Lost: Stay close to Lachlann to minimize the impact of Lament of the Lost, and avoid getting caught in its radius.
- Clear the Clones: If you have time, clear out the clones after dealing with Lachlann. They can provide valuable breathing room, especially in Phase 3.
Phase 3: The Final Push
- Stay on the Move: This phase is all about positioning. Avoid the AoE wind vortexes, and stay out of Lachlann’s Eternal Lament.
- Use Flask Wisely: You’ll need to manage your flask usage in this phase to survive Lachlann’s more potent attacks.
- Aggressive Damage: Keep up the pressure on Lachlann to avoid triggering his enrage mechanic. This phase is all about timing and keeping your attacks consistent.
The Loot
Lachlann of Endless Lament may be a challenging boss, but the loot is worth it. He drops a variety of high-tier gear, including:
- Unique Weapons: Lachlann’s drops often include powerful unique weapons that can drastically improve your build. Count Lachlann's Ring (The Mysterious Shade quest item)
- Currency: Expect to see a good amount of PoE 2 Currency from this fight. It’s a great opportunity to stack up on orbs and other valuable items.
- Crafting Materials: You’ll also get access to top-tier crafting materials, which can help you improve your gear in future fights.
Preparing for the Fight
Before heading into the Lachlann battle, make sure your character is well-prepared. Here are a few quick tips:
- Gear Up: Ensure you have high resistance to chaos and elemental damage, as Lachlann’s attacks are highly varied.
- Flasks: Bring plenty of flasks that will help you recover from damage, especially chaos and elemental damage flasks.
- Watch Your Damage: Don’t forget to check your DPS output before entering the fight. Lachlann’s enrage mechanic can be a real pain if you’re not hitting hard enough.
Conclusion
Lachlann of Endless Lament is a fearsome foe in PoE 2, but with the right preparation, you can bring him down. The fight is a true test of strategy, timing, and patience, and if you keep your wits about you, you’ll come out victorious. Be sure to keep your flask usage in check, focus on dodging Lachlann’s deadly wind attacks, and keep up the damage to prevent him from enraging.
Good luck, Exile—Lachlann is waiting.
If you’re looking to get the best gear and currency for this fight, be sure to check out places like G4mmo for your cheap PoE 2 Currency needs.
And if you’re interested in more boss fights, make sure to check out our guides for other epic encounters in PoE 2, such as The Rust King and Draven, the Eternal Praetor.
Recommended Article


 Email
Email Discord